Have you ever had a flat tyre on the road? It’s a frustrating experience, especially when you’re ill-prepared. Knowing how to fix one can save you a lot of time, money, and trouble. While a lot of people opt to rely on roadside assistance, it couldn’t hurt to have this knowledge in your driver toolbox.
This guide aims to walk you through the process in order to help you handle a flat tyre confidently.
Step 1: Safety First
Before doing anything, you should safely pull over. Find a safe spot, ideally somewhere flat, stable, and away from traffic. Avoid narrow sections or stopping on a bend.
To alert other drivers that you are not moving and your vehicle is stationary, turn on your hazard lights. Ensure the parking brake is engaged. You don’t want your car rolling while you’re working on the tyre.
Use wheel wedges opposite the tyre you’re changing. If you’re changing a rear tyre, place the wedge in front of the front tyres, or vice versa. This is just an extra precaution to keep your vehicle still.
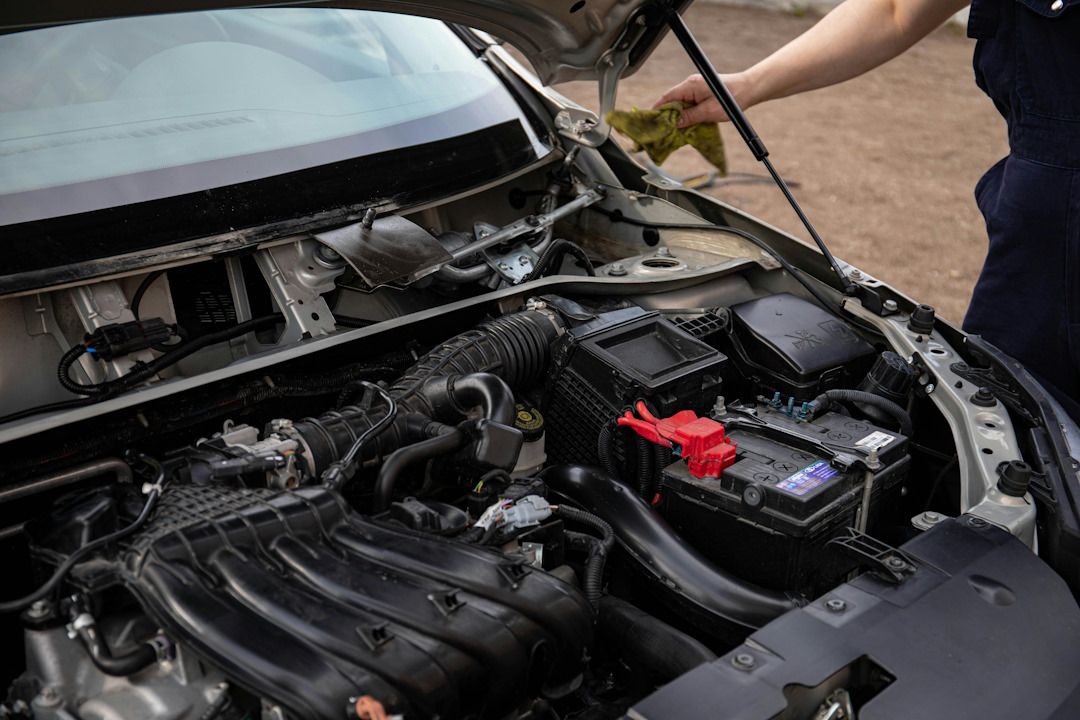
Step 2: Prepare Your Tools
Here are the tools you’ll need to change a flat tyre. These are often typically found in the car's boot:
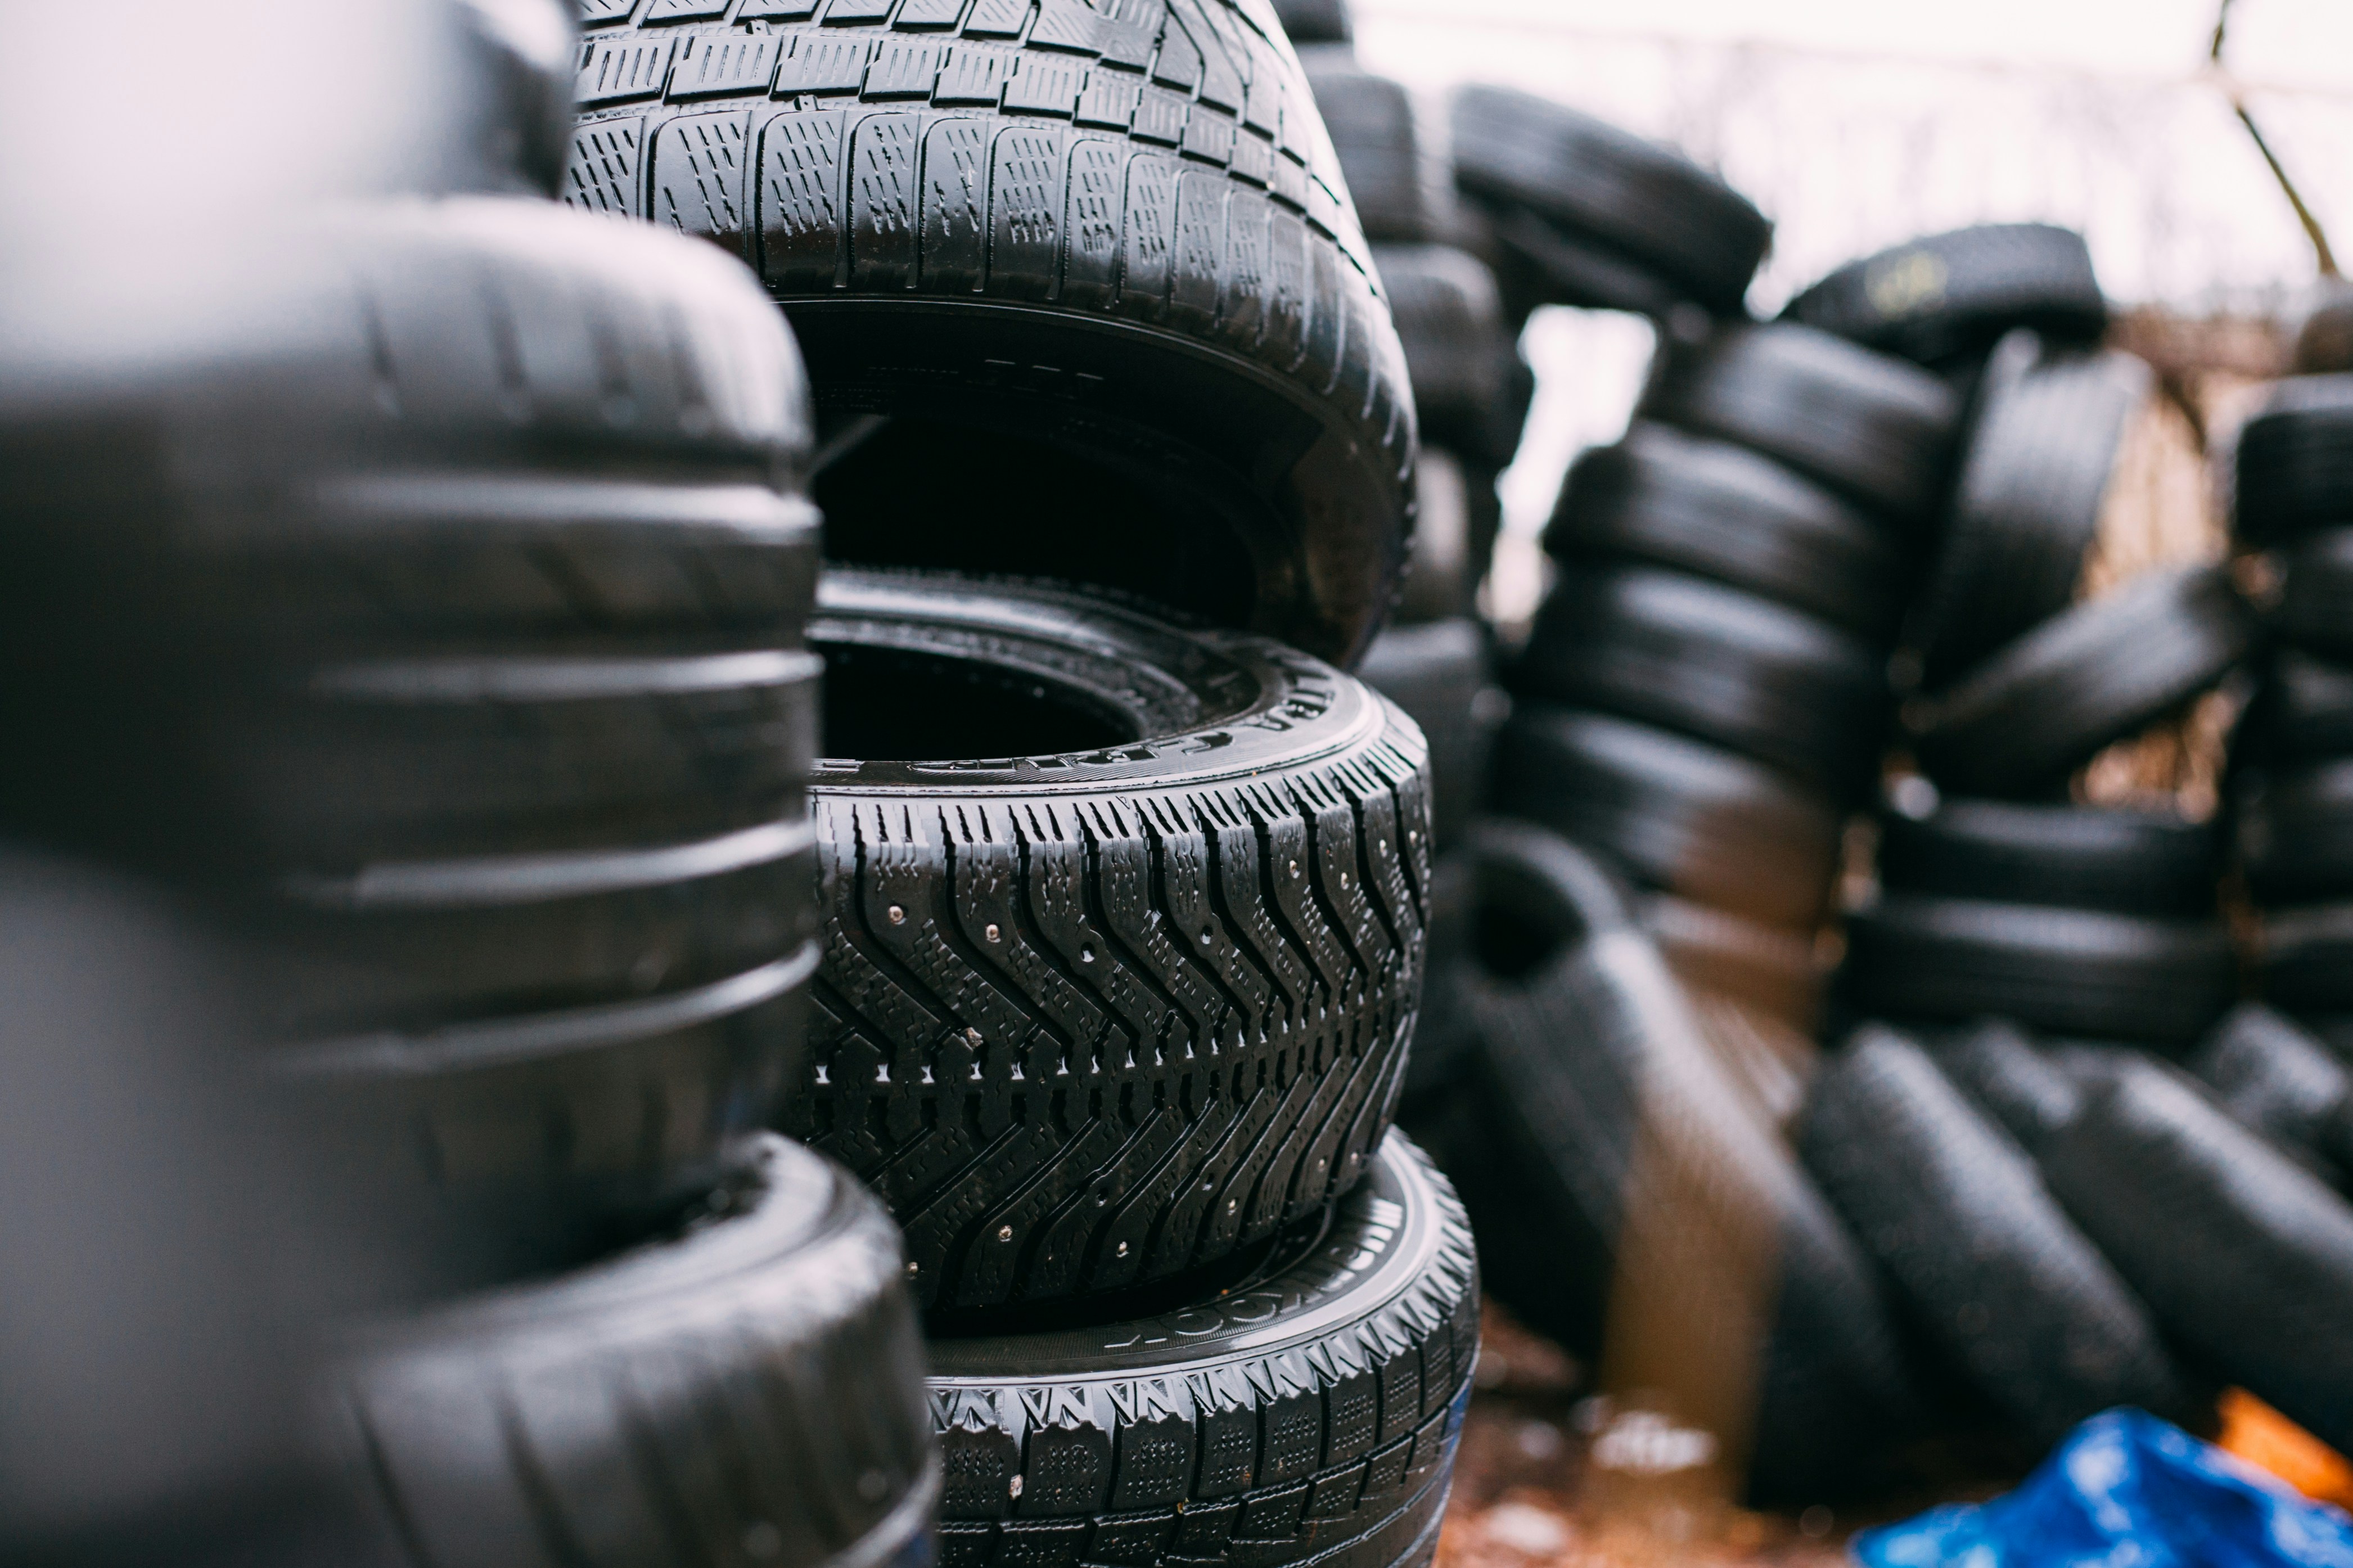
- Spare Tyre: Always ensure your spare is in good condition.
- Jack: This tool lifts your vehicle off the ground.
- Lug Wrench: This removes the lug nuts from the flat tyre.
- Owner’s Manual: To serve as a reference, just in case.
- Wheel Wedges: To supplement your parking brake to keep your car from rolling.
Step 3: Loosen the Lug Nuts
Before you lift the car, you'll need to loosen the lug nuts on the flat tyre. Remove the hubcap or wheel cover to access the lug nuts. You can use the flat end of your lug wrench to do this. Turn the lug nuts counterclockwise to loosen them just enough so you can easily remove them by hand later.
Tip for stubborn lug nut: use your foot for additional leverage.
Step 4: Use the Jack to Lift Your Vehicle
Now that the lug nuts are loose, you can safely lift your car. Locate your car’s correct jacking point and position the jack. This is usually on the frame near the flat tyre. Slowly pump the jack to raise your vehicle to about 15cm off the ground. Ensure that your car is stable and your jack secure.
Step 5: Remove the Flat Tyre
With the car lifted, you can now remove the flat tyre. Remove the lug nuts by hand and place them in a safe place where they won’t roll away. Grasp the tyre by the treads and pull it out. Place it flat on the ground so it doesn’t roll away.
Step 6: Mount the Spare Tyre
Place the spare tyre on the hub. Ensure that the rim is aligned with the lug bolts, and push the tyre in as far as it will go. Tighten the lug nuts with your hand securely enough so that the tyre does not fall off when you lower the car.
Step 7: Lower the Vehicle and Tighten the Lug Nuts
Use the jack to lower the vehicle so that the spare tyre is just touching the ground. This prevents it from spinning when you tighten the lug nuts. With the use of the lug wrench, tighten the nuts using a star pattern (where you tighten one nut, and then the one directly opposite it, and so on). This technique is used to ensure even pressure on the wheel.
Once the lug nuts are snug and tight, lower your car fully to the ground and remove the jack. Always do a final pull on each lug nut to make sure they are as tight as possible.
Step 8: Clean Up and Final Checks
With the spare tyre securely in place, you can wrap things up. Put away all the tools and store them in your vehicle, including the flat tyre. Before driving off, ensure your spare tyre is properly inflated. If you have a pressure gauge on hand, you can use it to check pressure. Follow the recommended PSI on your car manual or the sticker inside the driver’s door.
Friendly reminder: Some spare tyres, known as space savers, are a temporary solution only. They are not designed for high speeds or long-distance driving. Drive carefully and get your flat tyre repaired or replaced as soon as possible.
Need professional help? Tyrepower technicians have the skills and the tools to help you deal with a flat tyre on the road. Contact us today.